Lowcountry Luthiery

Please call for an appointment 843-641-8869
email: guitarrepaircharleston@gmail.com

Some Interesting Shop Pics

Headstock broken in half
Back in playable condition.
Good as new!
A broken soundboard, this ukulele needs to be disassembled and have a new soundboard made
Another angle. Classic FUBAR
The headstock, this is a custom made instrument
The back plate, made of Maple, is too thin and will have to be rebraced on the inside during reassembly
The original lining was made too thin for a good glue joint for the soundboard. I'm replacing it with thicker lining piece by piece
The side walls were also made too thin, I'm adding additional structural bracing for support
The new soundboard, bookmatched and thinned. Cutting out the soundhole
Braces being glued on the new soundboard
Final braces being glued over the bridgeplate
The new soundboard being glued to the body with spool clamps
A side view of spool clamping
.......and a top view of spool clamping
The neck being positioned and glued to the newly reassembled body
A front angle of the neck reglue
The instrument reassembled and ready for final sanding
A front/side angle of the reassembly
The high gloss finished is applied, cured and buffed to a high shine, the masking tape removed for glueing on the bridge
The bridge is positioned and glued onto the soundboard
Top view of the bridge glueing set up.
A nice Parker acoustic getting pick scratches. Mirror image pick guards are being added to protect the finish.
Functional and beautiful!
The 12th fret of this acoustic bass has been severely dented and crushed, it has to be pulled out and replaced
There is also damage to the surrounding fretboard that must be filled in and leveled smooth.
The fret has been removed, note the severe damage, worse than I thought it would be
Prepping the damaged rosewood board for filling before the fret replacement
The fret slot has been temporarily filled in with a removable plastic so the dent filler doesn't fill in the slot.
The fingerboard damage has been filled and leveled to a smooth playing surface.
Ready to replace the fret
A smooth fingerboard and a brand new fret
Ready to rock!
This very well used nylon string has a classic gouge from picks and fingers, it goes all the way through
The hole itself is now backed up with a cross grain patch of spruce
I protected the finish with masking tape, just in case I dribbled the filler
Here are a few shots of the gouge filled with a two part epoxy
The filler is scraped level to the finish, ready to hide the ugly hole with a black pick guard
The pick guard is carefully lined up, an important step, there is only one chance to get it straight
And viola! this same gouge will never happen again
Shielding the control and pickup cavities of a Stratocaster with conductive copper tape
The underside of the pick guard is also shielded to cover the cavities. The instrument is now completely shielded from RF frequencies.
The guts of an Eric Clapton Strat, very cool tonal possibilities. An awesome instrument!
A beautiful Strat, the pick ups were replaced and upgraded by the owner, but the instrument doesn't work
I took the pickguard off to expose the wiring and found a messy jumbled up rewire
I took the pickguard off to expose the wiring and found a messy jumbled up rewire with way too much wire left in the instrument
I shortened the wires and resoldered everything to their proper places and got the proper grounds all straightened out
A much more neat set up
And we're ready to rock!
         A broken Les Paul headstock
 Adding Pick Guards to a Parker
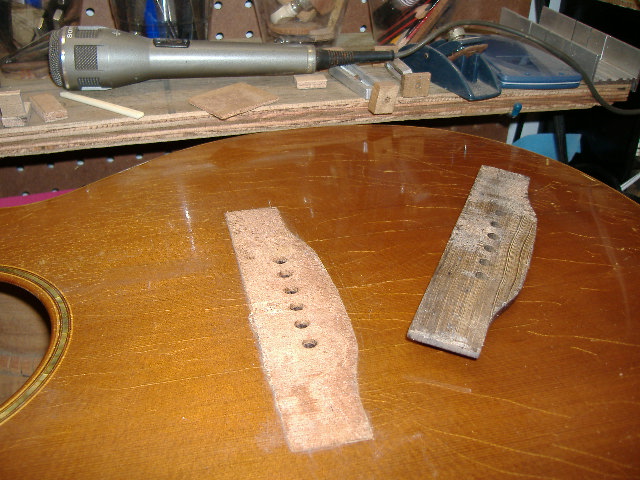
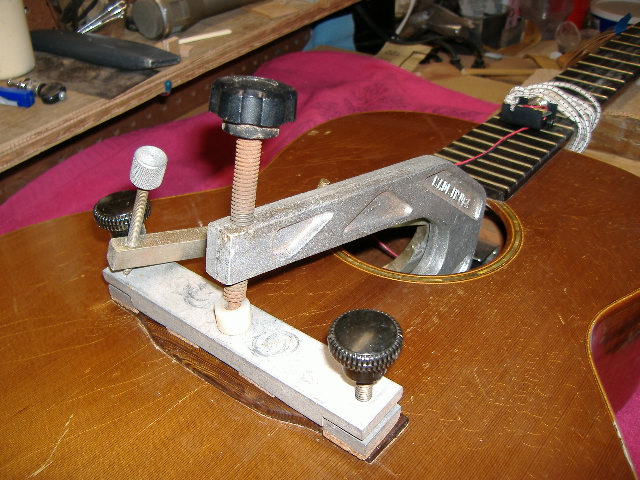
Reglueing Bridge
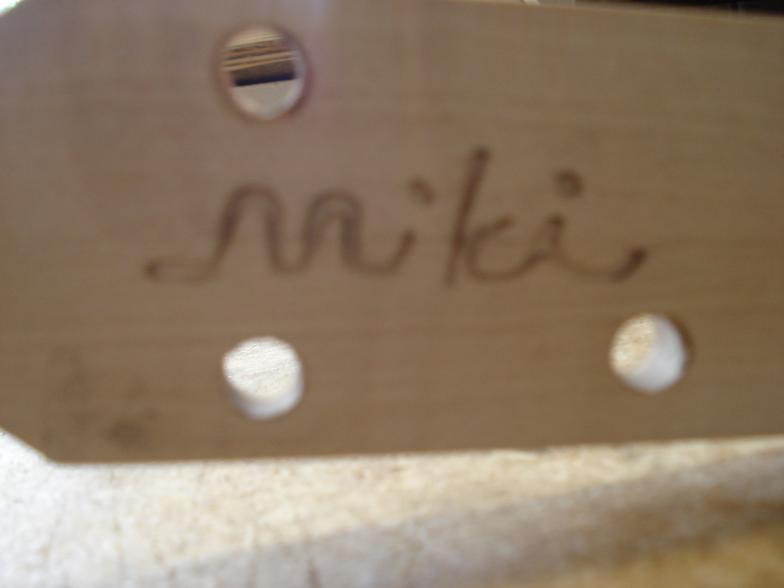
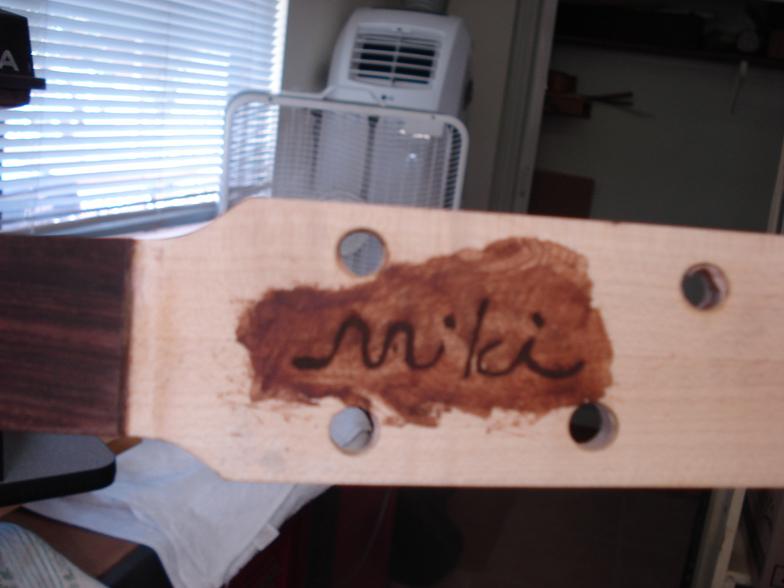
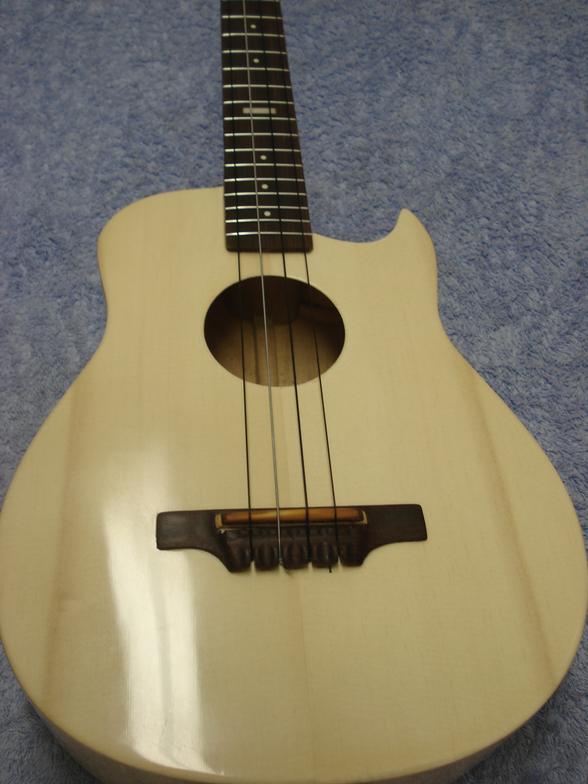
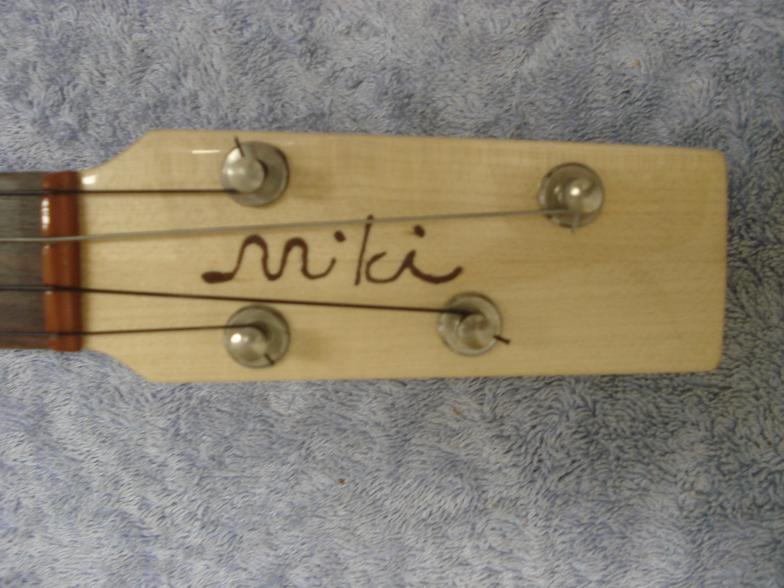
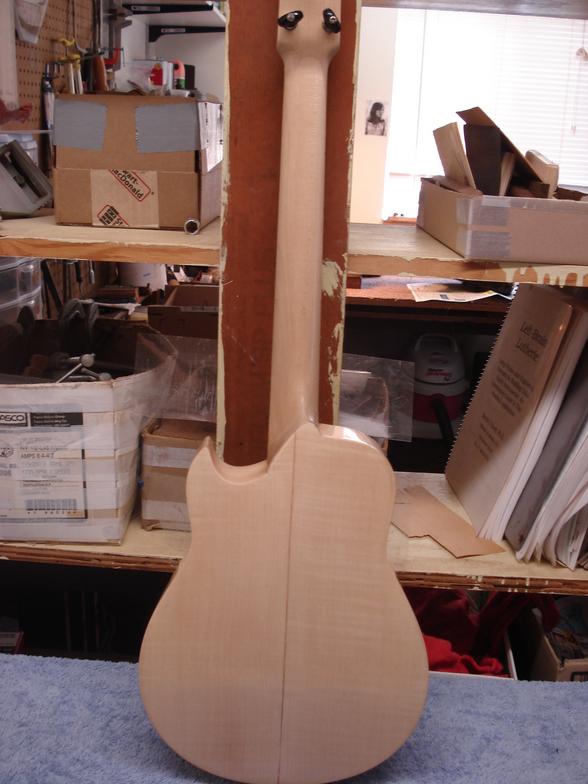
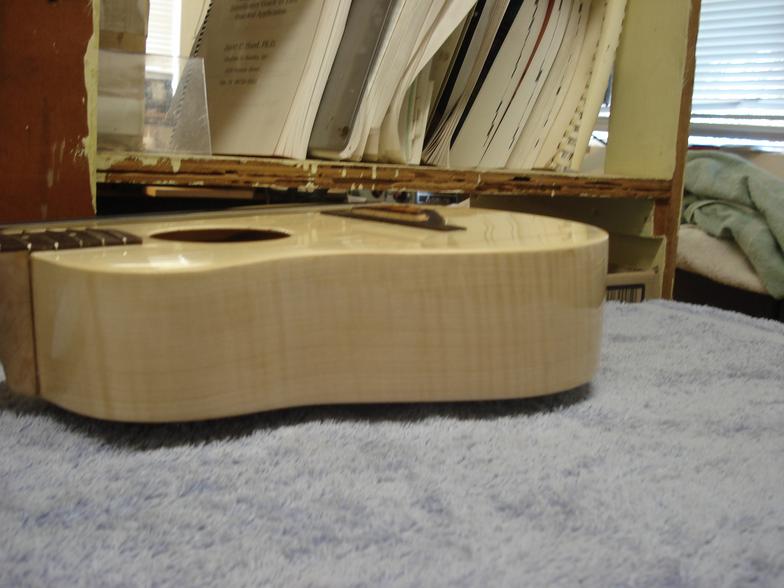
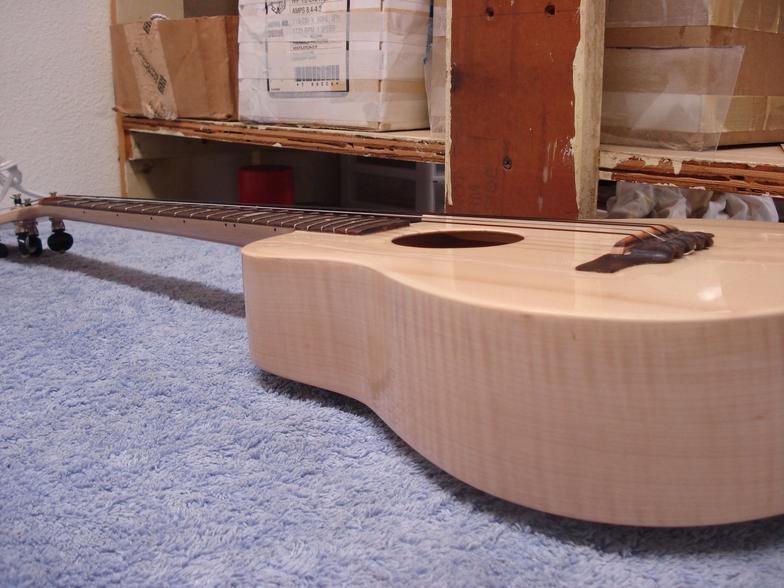
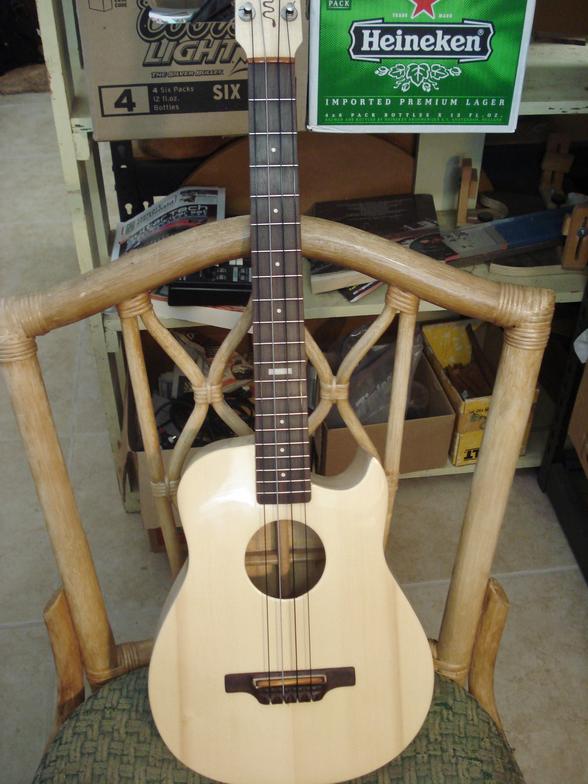
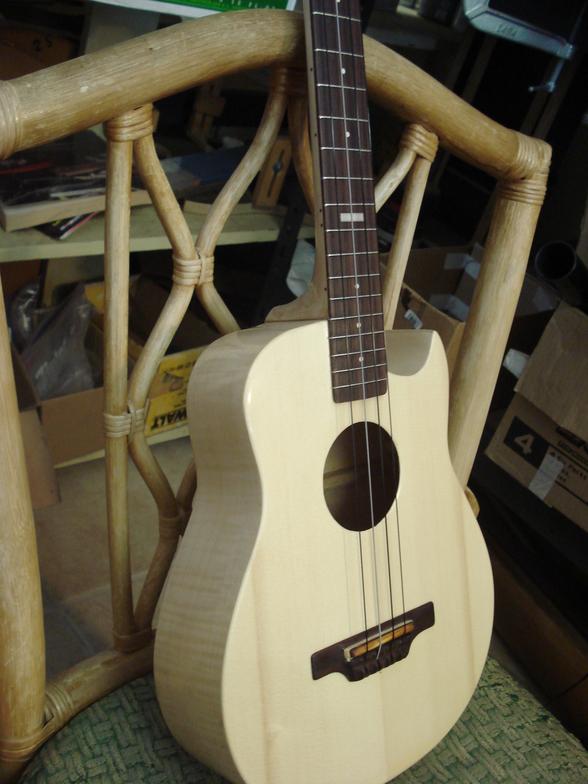
Reconstructing a family heirloom Ukulele
Replacing An Oddly Smashed Bass Fret
Filling and Covering a Pickworn Soubdboard
Cavity Shielding a Strat
The Guts of an Eric Clapton Strat
A simple Strat Rewire
Contact Us
Contact Us
Contact Us
First I measure the height of the bulge to see how much it came down after the flattening
You can see the unevenness across the bridge pin holes, I'm going to flatten it out with heated clamping cauls
The bulge is being sandwiched by heated aluminum cauls on top and underneath, clamped and left to cool
Now the top is flat where the bridge will be reglued
The area is masked off
The finish will be removed inside the taped area
I'm removing the finish with a hot electric scraper
Now we have a good contact surface for the reglue
The bridge is properly fitted, cauled and reglued
......and now we have a playable instrument!
Flattening a Belly Bulge and Reglueing the Bridge
A left handed saddle slot needs to be filled in and recut for a right handed player
the saddle slot is filled in with a rosewood piece and glued into place
the new saddle slot is measured out and marked for a righty
The routing jig is put into position and gently but firmly clamped into place
The router bit is set to the proper depth
A newly routed right handed bridge!!
A left handed saddle slot
Converting a Left-handed Bridge for a Right-handed Player
An unfortunate break in a nice headstock needs to be trimmed and replaced
I cut and laminated matching pieces of Rosewood and mahogany to the existing headstock, then fit them seamlessly into place
The side to be replaced was scaled out and drawn to match the other side

Then it was rough cut pretty close for final hand shaping
Using hand files the piece was shaped until it matched the existing side
A view from the back of the final shaped headstock
The holes for the tuning machined are drilled and reamed out to approximate size
The repair is ready for final sanding and finishing
Rebuliding A Split Headstock
The fingerboard has come completely off of this mandolin, the taught strings have warped and twisted the neck
Looking closer at the neck edge you can see the twisted neck
The edge of the twisted neck rises radically up as it approaches where the nut would be
A straightedge reveals how badly the neck is bowed in the middle, this has to be straightened out and stabilized before the fingerboard is reattached
A view of my improvised neck 'detwisting" contraption, it employs a fulcrum under the neck and cords to force it back to where it was while the stabilizer bars are inlayed
I removed the truss rod and cleaned up the channel, now I'm glueing the channel back closed
These steel bars will the inlayed and epoxied into the neck while still in traction
The channels are lined up and routed the the proper depth
The stabilizer bars are epoxied into place, ready for the fretboard to be glued on, the neck remains in traction during the entire process
SUCCESS!! The neck remains straight
and untwisted under string tension
Back in the saddle and good as new!
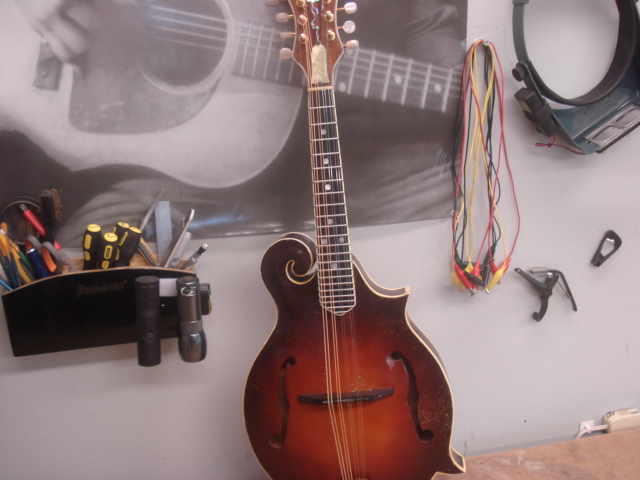
Straightening A Twisted Mandolin Neck With Inlayed Stabilizer Bars
     Removing The Fingerboard To Replace A Broken Truss Rod
An old Gibson short scale bass has a broken truss rod, the fingerboard has to be removed to access and replace the old truss rod.
Securing the instrument to the bench to work on the fingerboard removal
The frets are being removed and will be replaced with new frets
Using a heating iron, the fingerboard is slowly heated and seperated from the neck with a seperating spatula
The fingerboard has been successfully removed from the neck
This is the underside of the fingerboard, the old glue must be cleaned off to reattach it later
The old truss rod is buried in the neck under a glued in wooden strip
The old truss rod has been successfully removed
I removed and replaced the old and cracked binding on the fingerboard
I am adding stabilizer bars to the neck, a channel for each bar has been routed on each side of the truss rod channel
The stabilizer bars fit snugly in their new channels
The new modern two way truss rod is fitted into the old channel. The assembly is ready to be glued
The whole assembly is glued with a flat clamping caul after dry clamping to check the flatness.
Success!! The instrument is back together and everything went smoothly
....and we're ready for strings